Showing posts with label recipes. Show all posts

Saturday, June 13, 2015

Cooking With Your Toddler: Banana Muffins

I am not a baker. I don't claim to be one, I don't really even strive to be one. However, cooking isn't always the easiest to do with your child, as it usually involves a stovetop and raw meat of some kind. And my child happens to love being right next to mommy, cooking away.

So in order to solve that problem, I began baking with her. It's easier to keep her entertained, she can stir things that aren't hot, and none of its going to kill her if she eats it as we go (since that's what she does. Every. single. time.)

I've tried out a lot of recipes and one that has become our favorite are these banana crumble muffins. We have made these so many times and every time they come out tasting delicious. They are also great to take to friends houses or any brunch events.

They mostly are an awesome recipe to cook with your toddler mostly because of the crumb topping. Who doesn't love a bowl of brown sugar/butter yumminess? When applying the topping, Adly likes to follow the golden rule of "some for you muffin, some for me". Sorry, people who have had them. You've definitely had a little bit of Adly love, mixed in. 

When I first began cooking with Adly, I'm not going to lie, it was really hard to keep my patience intact. I would get very frustrated when flour spilled or when things dropped on the floor. Over time, I've tried to keep reminding myself that a mess is a mess. And it can always be cleaned up. What can't be replaced is the fun your toddler will have, being a part of what mommy does and acting as a helper. She seriously gets so much joy out of pouring the ingredients in, stirring them with a whisk, and then tasting everything as she goes.

She even has her own apron, thanks to her godmother who sewed her one. This apron is essential to Adly's cooking process and must always be worn.

Another benefit to these baking sessions with Adly has been the growth in her imagination skills. She loves her play kitchen and now really loves pretending to cook. I hear her using the same terms we use as we bake as she makes her own creations, playing on her own in her kitchen. Although she gets a little crazy with chicken and ketchup and french fries in her one-pot-wonders. 

I honestly follow the recipe to a tee, except that after reading comments from others, I add cinnamon and nutmeg to the flour mixture.

I encourage you to give this recipe a try, with your toddler. It has made so many rainy Saturdays much more bearable in our household!


INGREDIENTS:
1 1/2 cups all-purpose flour
1 teaspoon baking soda
1 teaspoon baking powder
1/2 teaspoon salt
3 bananas, mashed
3/4 cup white sugar
1 egg, lightly beaten
1/3 cup butter, melted
1/3 cup packed brown sugar
2 tablespoons all-purpose flour
1/8 teaspoon ground cinnamon
1 tablespoon butter
DIRECTIONS:
1.Preheat oven to 375 degrees F (190 degrees C). Lightly grease 10 muffin cups, or line with muffin papers.
2.In a large bowl, mix together 1 1/2 cups flour, baking soda, baking powder and salt. In another bowl, beat together bananas, sugar, egg and melted butter. Stir the banana mixture into the flour mixture just until moistened. Spoon batter into prepared muffin cups.
3.In a small bowl, mix together brown sugar, 2 tablespoons flour and cinnamon. Cut in 1 tablespoon butter until mixture resembles coarse cornmeal. Sprinkle topping over muffins.
4.Bake in preheated oven for 18 to 20 minutes, until a toothpick inserted into center of a muffin comes out clean.

Monday, January 20, 2014

Lovely Day

Darkness cannot drive out darkness; only light can do that. 
Hate cannot drive out hate; only love can do that. 
-Dr. Martin Luther King Jr. 

I have a great appreciation for all of the many things Dr. King accomplished in his lifetime. But this year, I have to selfishly admit I couldn't be more excited to be able to stay at home one more day with my two favorite people.

To go along with the mandatory theme of relaxing all day, Adam came up with the idea to make some chicken and waffles together at home. This was a meal that I craved like a wild animal when I was pregnant. Every weekend I would make Adam look up new restaurants that served it for brunch and we would traipse all over town fulfilling my ravenous cravings. 

Since having Adly the craving has disappeared thankfully (for my waistline's sake), but it is still one of my favorite meals. For what ever reason, I had never thought of making it at home, despite how much I love to cook. But I'm so glad I did! This meal was amazeballs. I cannot even begin to explain just how good it was. I'm drooling as I write this. Therefore I had to share.

Crispy Chicken & Waffles
-2 chicken breasts
-buttermilk
-frozen waffles (or homemade if you have a waffle maker and the energy)
-corn flakes-crushed
-flour
-Franks Red Hot
-Pure maple syrup
-cinnamon
-cayenne pepper
-pepper
-salt
-onion powder
-garlic powder
(I'm bad at measuring. That's why I can't bake. I just use my eye. Sorry, there are no measurements.)

Take the breasts out of the package and stab a few knife holes in them. Sounds lovely, doesn't it? I think this helps it absorb more of the buttermilk goodness. Put the chicken breasts in a gallon ziploc baggie. Cover them with buttermilk. Sprinkle in a good amount of cayenne pepper, pepper, garlic and onion powder. Mix it up and put it in the refrigerator for about 2 hours.

In another ziploc baggie, crush up a few handfuls of corn flakes. Add a few good dashes of cayenne pepper, pepper, salt, onion and garlic powder. I added so much that when I tried the flakes after it was all mixed, I coughed, sneezed three times and had snot dripping down my face. Hey, we like it hot around here.  Place this mixture in a shallow dish. In another dish, add some flour. Take the chicken out of the baggie and put it on a plate. Pour the buttermilk marinade into yet another shallow dish of some kind.


Dust the chicken with the flour, shaking off any excess. Next dredge the chicken in the buttermilk mixture and then into the corn flake mixture. Make sure to get that crispy goodness all over the breast. Put it on a cooling rack on top of a baking sheet (or a roasting pan). Bake for 25-30 minutes at 400 degrees, or until cooked through. Toast your waffles. Put the crispy chicken on top of the waffles. 

Here's where the magic comes in. 

Mix together some Franks Red Hot with maple syrup (about half and half) with a dash of cinnamon for a mind blowingly amazing sauce. Pour that goodness all over your chicken and waffles and enjoy!

Mmmmm. 

In between all the cooking, drooling, and eating I also got in lots of extra play time and snuggles. What an amazing extra day.

Wooooo!!!

Monday, May 27, 2013

Crack Pie

What...you think it's odd to come to a blog about pregnancy and babies and you see a title of a post with the word "crack" in it? Not in my world.

You see, this pie is absolutely like crack. OMG. It is the most amazing thing I've had in the last 8 months. It's every bit as terrible for you as the title eludes. In fact, I've never felt so guilty even just buying the ingredients. It is made of everything you shouldn't be eating. But let me tell you, it is so worth it in the end! It could also be made to be lighter. But I was making it for Emily's Memorial Day weekend BBQ and since I can't drink, this is going to be my guilty pleasure. So for this version, it is 100% fat.

I also have to note that I had this pie for the first time at Laura's house, back when I was around 16 weeks. Laura passed on the recipe to me, but I haven't made it since. I remembered it around Thursday of last week and I am not kidding when I say I've been thinking about and dreaming of it since then. It is a pregnant ladies' heaven. I knew I couldn't be trusted to have so much amazingness sitting in my freezer for more than a day as it would have magically disappeared. Right into my belly.

So my friends, here it is! I even took some pictures along the way to test out my foodie pic taking abilities. I'm still an amateur. Also, as a note, I made mine in a baking pan. The original recipe is designed to be made into 2 pies. Here we go.

Ingredients:
-2 packaged Oreo pie crusts. (I couldn't find these, so I bought Oreos and put them in the food processor. Even fatter=even better).
-1 8oz package of cream cheese
-1-1/2 cups of confectioners sugar
-1 cup of peanut butter
-1 cup of milk
-1 16oz package of cool whip (unthawed)

If you didn't buy the prepackaged crusts, process a handful of Oreos until crumb consistency. Pour the crumbs into the pan of your choosing and pack down. Or just pull out your pre-made crusts.


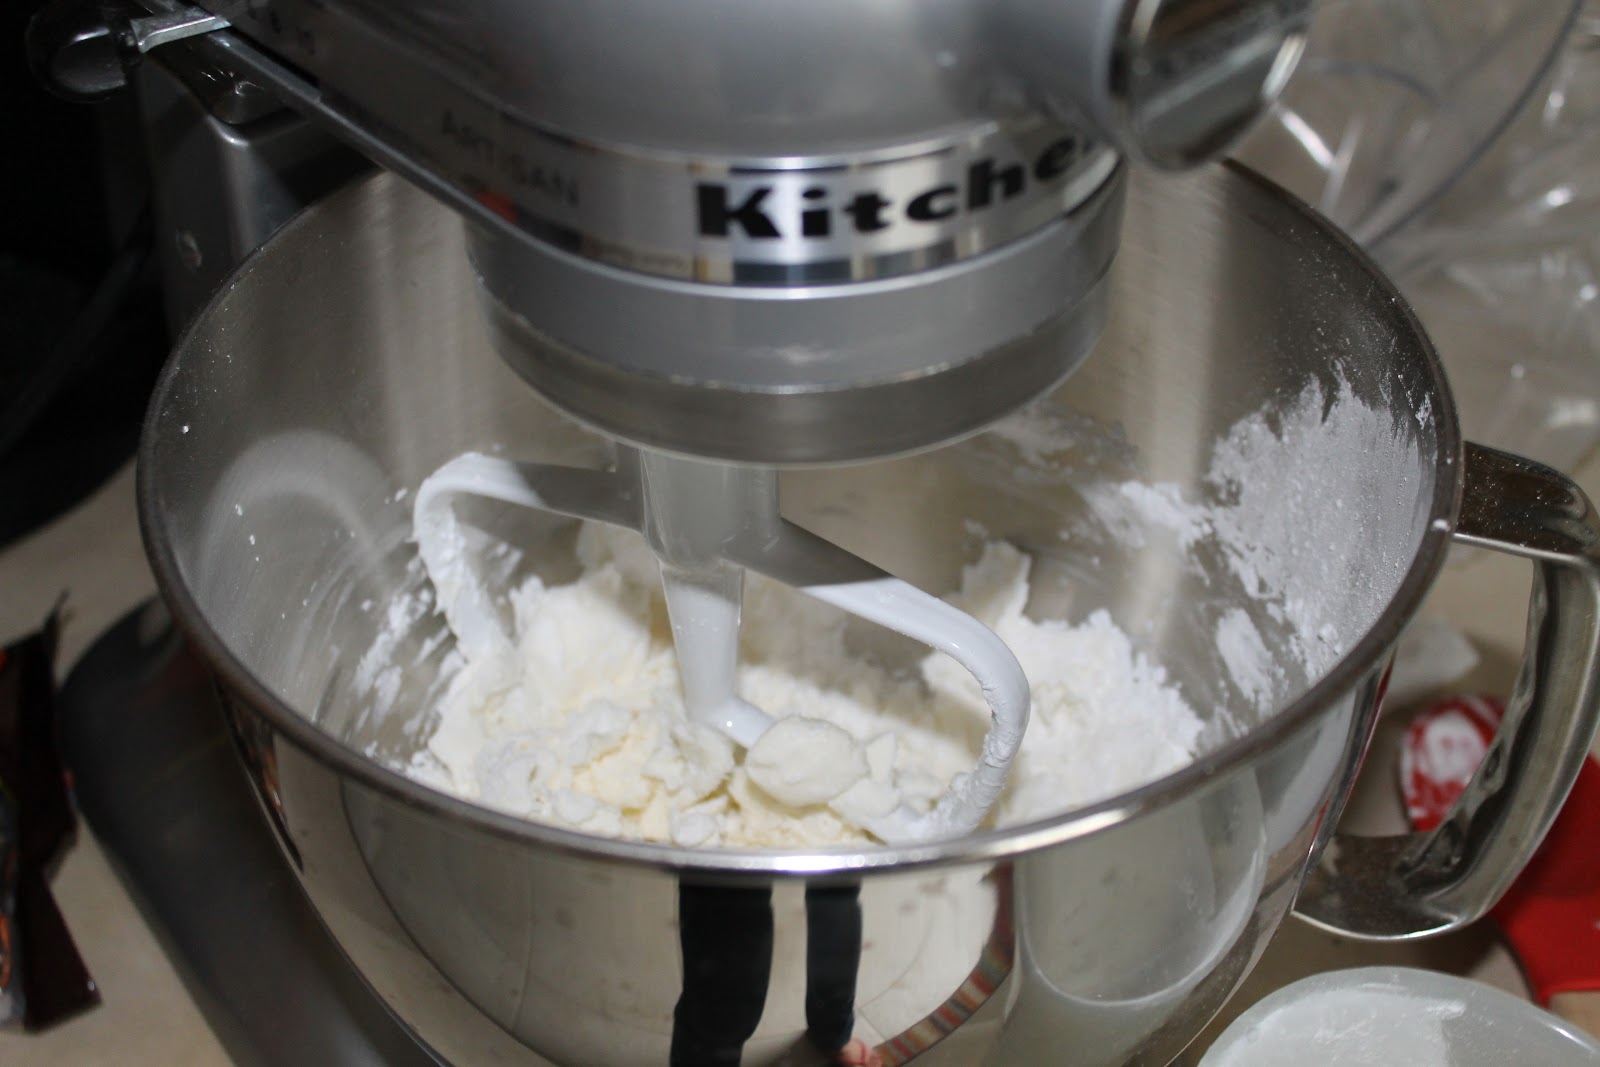
In a mixer, combine the powdered sugar and cream cheese. Beat until smooth. 

Next, pour in milk and peanut butter. It will be runny at first. Mix until combined and smooth. 

Then gently fold in the whipped cream into the mixture until combined. You don't have to use the whole tub if you don't want to. I did. 

Meanwhile, in your food processor, chop a handful of Reese's peanut butter cups. I chose to use the dark chocolate ones. Because they're healthier. Riiiiiight. 

Pour the mixture from your mixing bowl over the crust. Smooth over with a spatula. Then top with chopped Reese's and drizzle with fudge. Cover and place in freezer overnight. 


There you have it, crack in a pan! Enjoy every last sinful bite. I promise, you won't regret it. 

Finally, a HUGE thank you to all of the men and women who have fought for our country, especially my brother, Christopher Johnson. Without your sacrifices, we would not be able to live freely as we do. I love you, brother and am so very proud of you!!
Related Posts Plugin for WordPress, Blogger...

AddThis